Shopping Results and What to do The First Day – Month Under $300
I’m finally here! I know I’m late but I can finally take the time to write up this post. And prepare yourself, it’s going to be a doozy.
To start things off, my shopping trip yesterday. I have included my receipts below and I know the totals are higher than expected, but let me remind you, this bit is about groceries. My receipt includes other household needs (like dish soap and toilet paper). Therefore, I have marked out the things that weren’t groceries but left the prices. Below each picture I will put how much I spent on food or food related items and then will give you my total. Also, in the interest of full disclosure, I forgot to get the receipt for the gas but I spend $63.00. This amount would bring my total cost slightly above $300 for the day, but, it was well worth it.
First, I went to Walmart.

Walmart, trip one: $208.53
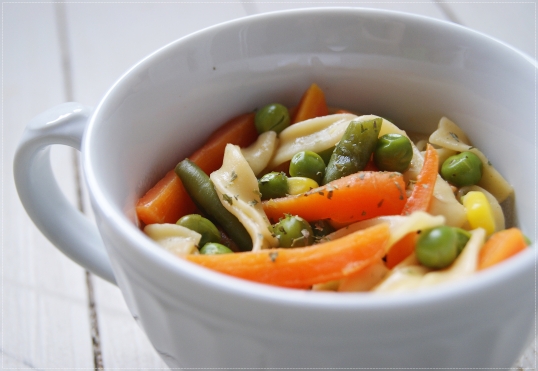
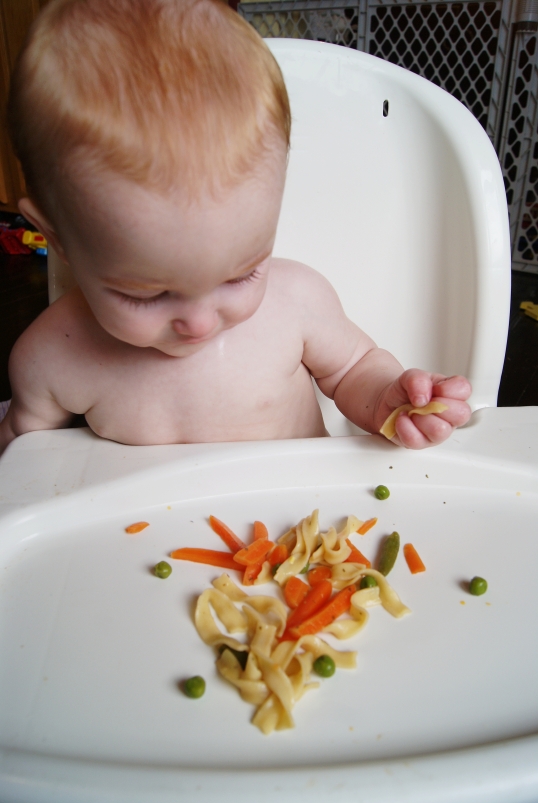
These trips costs also include the cost of formula for Row, and some snack items for B. Such as hot dog weenies, a box of packaged animal crackers, a box of packaged fruit snacks, and some Nutella to trick them into eating breakfast. There are also some extra veggies and fruits there to make baby food with. Those things weren’t on my shopping list from my previous post but I needed them for The Wardens. My total will still be under $300.

Sam’s, trip two: $66.09
After deducting the unrelated items, I added the two together to get a total of:
$274.62!
Now the fun part can begin!
After you get home with your groceries and you have taken the thirty minutes (or more if you have stairs or are alone) it takes to lug it all into your house, you can start putting things away or setting them aside. My trip lasted late yesterday so I simply put my meats on the bottom shelf of my fridge until morning. I put away the things that were already frozen and the dry or other cold goods. This morning, I got up and got ready to take care of the longest and most complicated day of this process. I promise the other days aren’t nearly this difficult!
A quick look at my tiny pantry trying to look organized without busting at the seams:
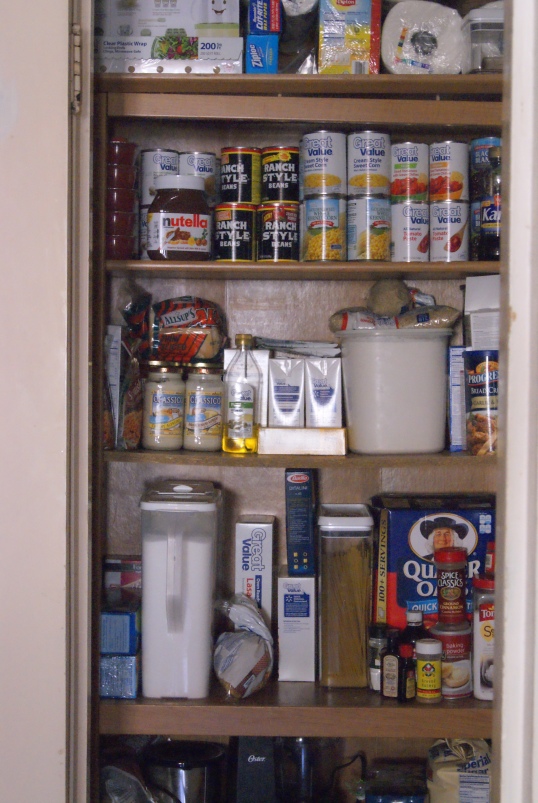
Teeny-tiny pantry
First, I got ready to separate and pre-prep the beef related meals. The bag meals for the Teriyaki Chicken and the Stew can be found in a link in yesterday’s post. I don’t have to explain those here. And you can scroll past the part where she talks about the shopping lists and such, we took care of that part already.
The other beef things called for certain amounts of beef per recipe. Because I want to save money, I buy my beef in the largest packages I can. Which just so happen to be 5lb rolls.
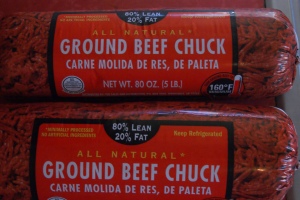
10lbs of beef
So, in order to get the meat I needed, I made a short list on a scrap piece of paper to take to the kitchen with me.
4lb – Goulash
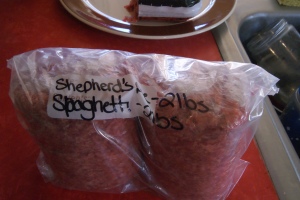
2lb – Shepherd’s Pie
2lb – Spaghetti
2lb- Meatballs
Then I grab a sharpie, some gallon size freezer bags, plastic wrap, and get ready to go. (I use plastic wrap and plastic bags for several reasons; you can re-use the bags later, the wrap makes it easier to separate the meat, and double wrapping prevent freezer burn.)
First you need to label your bags. I only used three and labeled one “Goulash-4lb”, another with “Shepherd’s Pie-2lb and Spaghetti-2lb”, and the third with “Swedish Meatballs-2lb”
Because I plan on prepping the meatballs, I don’t care how the meat is. And because I want to keep my beef easy to package, I want to others to stay in rolls. This means that I cut about 1lb (don’t worry about being exact! Just guess about a fifth of the roll) off of the end of one roll to create my 4lb package for my Goulash. Wrap that is plastic wrap and toss it in your labeled bag. Make sure to squeeze the air out. It’s easy, just roll it!
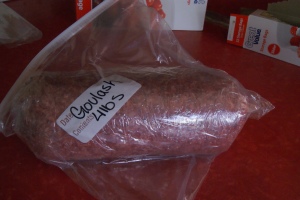
4lbs for Goulash!
Next, you take the other roll and do the same to the end of it! That gives us our second pound for the meatballs and leaves us with 4lbs. Now cut that in half. Wrap each of those rolls and put them in your Shepherd’s Pie/Spaghetti Bag. Easy-peasy!

The two 1lb ends for the meatballs.
Easy-peasy!
Then comes the fun part. Take the two 1lb ends and dump them in a large bowl. Throw in some seasoning (whatever you like), some bread crumbs if you want, an egg, and anything else you think you might like.
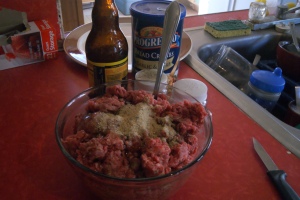
It’s not an exact science!
Then, mix it all up until it’s nice and even. I used my hands. (Yes, they were clean, I wash them before and after every handling because meat is slimey.) You can use a spoon if you like but I’m from the south and here, cooking is hands on. Once it’s mixed well like this…

…we can start making our meatballs.

Meatballs! Meatballs!
And yes, I used my hands for those, too. They aren’t perfectly round because I didn’t measure or use an ice-cream scooper. Just use your hands! It will all be fine! When we are done with this, we can put them in their own bag and place them in the freezer! Make sure to lay them flat first so they don’t get squished. But once they are frozen you can move them. When I’m ready to cook with them, since this recipe has been doubled, I can just break off half and thaw them and use the other half when I’m ready!
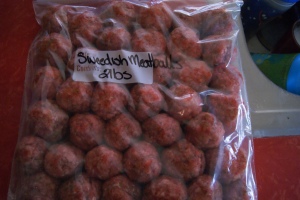
Freeze flat!
Finally! We can clean up our mess from the beef. Make sure you clean everything really well because we are working with the chicken next. However, because chicken is SO NASTY (in my opinion), I just got in and got out. I didn’t stop to wash my hands just to take a picture. So, unfortunately, I only have an end result for you. However, I will explain how I got there.
Once again, I made a list of what I needed for each bag.
4 breasts – Teriyaki
6-8 breasts – Spanish Chicken
6 chopped fine – Quesadillas
4 chopped – Alfredo
And once again, label the bags. I only used 4 bags (two for each of the Teriyaki and Spanish chicken) and used plastic containers for the chopped ones. You can go to the previous post for the Teriyaki recipe. The Spanish Chicken recipe is also in a link in the previous post, however, I made it a freezer meal so here is what I did:
First, I trimmed the breasts of any extra fat. Then I placed them flat in the bag (4 in each). I then poured the enchilada sauce, taco seasoning, and about a half a cup of shredded cheese per bag. After that, I added in a half a can of drained and rinsed black beans to each bag and a half a can of whole kernel corn to each because I had some spare in my pantry. When I’m ready to cook it, I will thaw it about halfway and then dump it into my stew pot and cook on a medium heat while stirring (and adding a little water as needed) until almost fully cooked and then will turn the heat to low and allow it to sit until the chicken is easy to shred. This will then be served with soft tortillas and Spanish rice! (You can use your crock pot, this was originally a crock pot recipe. I don’t have a crock pot anymore/at the moment so I use a stew pot. Because I’m home all day, it’s fine. I just stir it more often.)
After that is done we can trim and chop the other breasts for the last two meals. Here are the end result containers of chopped chicken. Notice the two together are a darker color and chopped finer. This is because I seasoned them with cumin and paprika and a little season salt because they are going into my quesadillas and we like our tex-mex spicy in my house. The other container is for chicken alfredo, though, and therefore was seasoned much more lightly and chopped into larger pieces.

Tex-Mex Style

For the Alfredo
Whew! Finally! I can put this all away and go do something else! I had dinner with family tonight so I didn’t actually cook which means no recipe tonight, darlings. But, alas, I fear you might gladly accept that! A recipe added to all this mess would just be entirely too much. Tomorrow I have church and then possible lunch with Dad’s family that may even turn into dinner. If it’s late at night before you hear from me again then you can bet it was a good day. But I WILL post again. I have to give my weekly roundup and weekend recap!
So until then, goodnight!